Supporting a Suzuki student’s home practice can be a unique challenge for piano teachers, as it requires bridging the gap between weekly lessons and the daily commitment of the “home teacher.” Maintaining consistency and enthusiasm throughout the week often feels like an uphill battle.
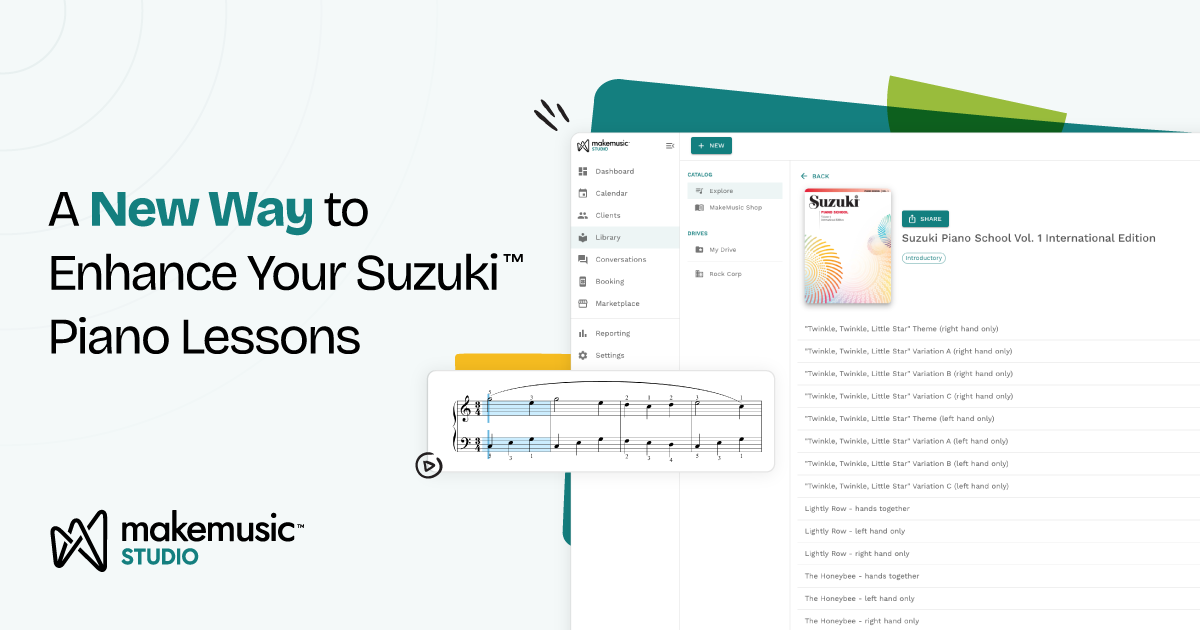
MakeMusic Studio offers a powerful solution by bringing Suzuki Piano School, Volume 1 into a fully interactive digital format. This platform makes practice more efficient, consistent, and genuinely enjoyable for both students and their families while ensuring the teacher’s pedagogical goals are met every day.
What You Get
- Tracks Isolating Each Hand: Each piece is presented in three separate tracks: right hand only, left hand only, and hands together, allowing you to target exactly what a student needs.
- International Suzuki Association (ISA)-Approved Audio: Official recordings by Seizo Azuma are available for every piece as the “Accompaniment.”
- Interactive Practice Tools: Easily adjust tempo without compromising quality, loop tricky sections, and practice with or without metronome/accompaniment.
Tips for Using the Interactive Book
- Daily Listening/Preview New Pieces: Share upcoming pieces with students and parents, providing a convenient alternative to the CDs or downloads.
- Master Micro-Steps: Use the looping feature to help students and parents isolate specific measures or sections.
- Review: Encourage continued practice of mastered material by sharing passed pieces with students.
- Reinforce Reading Skills: Have Book 2 students return to these Book 1 pieces to practice reading notation using music they’re familiar with.
- Empower Parents: Show them how to use the interactive practice features to enable them to be effective at-home helpers.
Lesson in Action: Supporting “Cuckoo”
Here’s how you can use these tools to scaffold a piece like “Cuckoo”:
Phase 1: Listening
- Weeks before introducing the piece, share the “hands together” track with the student.
- Instruct the student to listen with both the Metronome and My Part features turned off to focus purely on internalizing the music from the example recording.
Phase 2: Right-Hand
- Start by teaching the descending thirds in the first two measures.
- Use the looping tool on the “right hand only” track to isolate this section.
- Adjust the mix of Accompaniment and Metronome settings to suit the student’s needs.
- Repeat this isolation and looping process, section by section, for the remainder of the piece until the right hand is mastered.
Phase 3: Building Connections
- Once the right hand is secure, have the student practice playing along with the Accompaniment track turned up.
- This helps the student hear how the right hand fits with the left-hand part.
Phase 4: Left-Hand
- Apply the same isolation and looping techniques used for the right hand to the left-hand chords.
- Have the student practice the left hand alone, gradually turning on the accompaniment to solidify their coordination with the melody.
Phase 5: Refining Coordination
- Finally, switch to the “hands together” track.
- Use the looping tool and tempo adjustment features to focus on specific, tricky measures.
- Gradually increase the speed once the student demonstrates control and accuracy.
Get Started
Ready to bring these tools to your studio? Explore Suzuki Piano School, Volume 1 in MakeMusic Studio today.